Tuesday, December 18, 2018

Making 6mm Granny Grate Artillery

Small Black beads, cotton swabs cut to size and painted with gunmetal craft paint, granny grate cut into an elongated T. The cotton tips of the swabs removed and can be unwrapped for artillery smoke. Assemble cannon frame and barrels with glue. #7 granny grate and these beads friction fit and do not require glue.  Tip: easier to fit beads to grate before gluing cannon and barrel frame.

Heavy artillery
  Galloper guns (light Artillery) use a shorter granny grate T and the barrels are made with gunmetal #7 granny grate.

Galloper assembly
                                                              Granny Grate crew attached


Thursday, December 13, 2018

A Rev War/AWI Christmas tradition

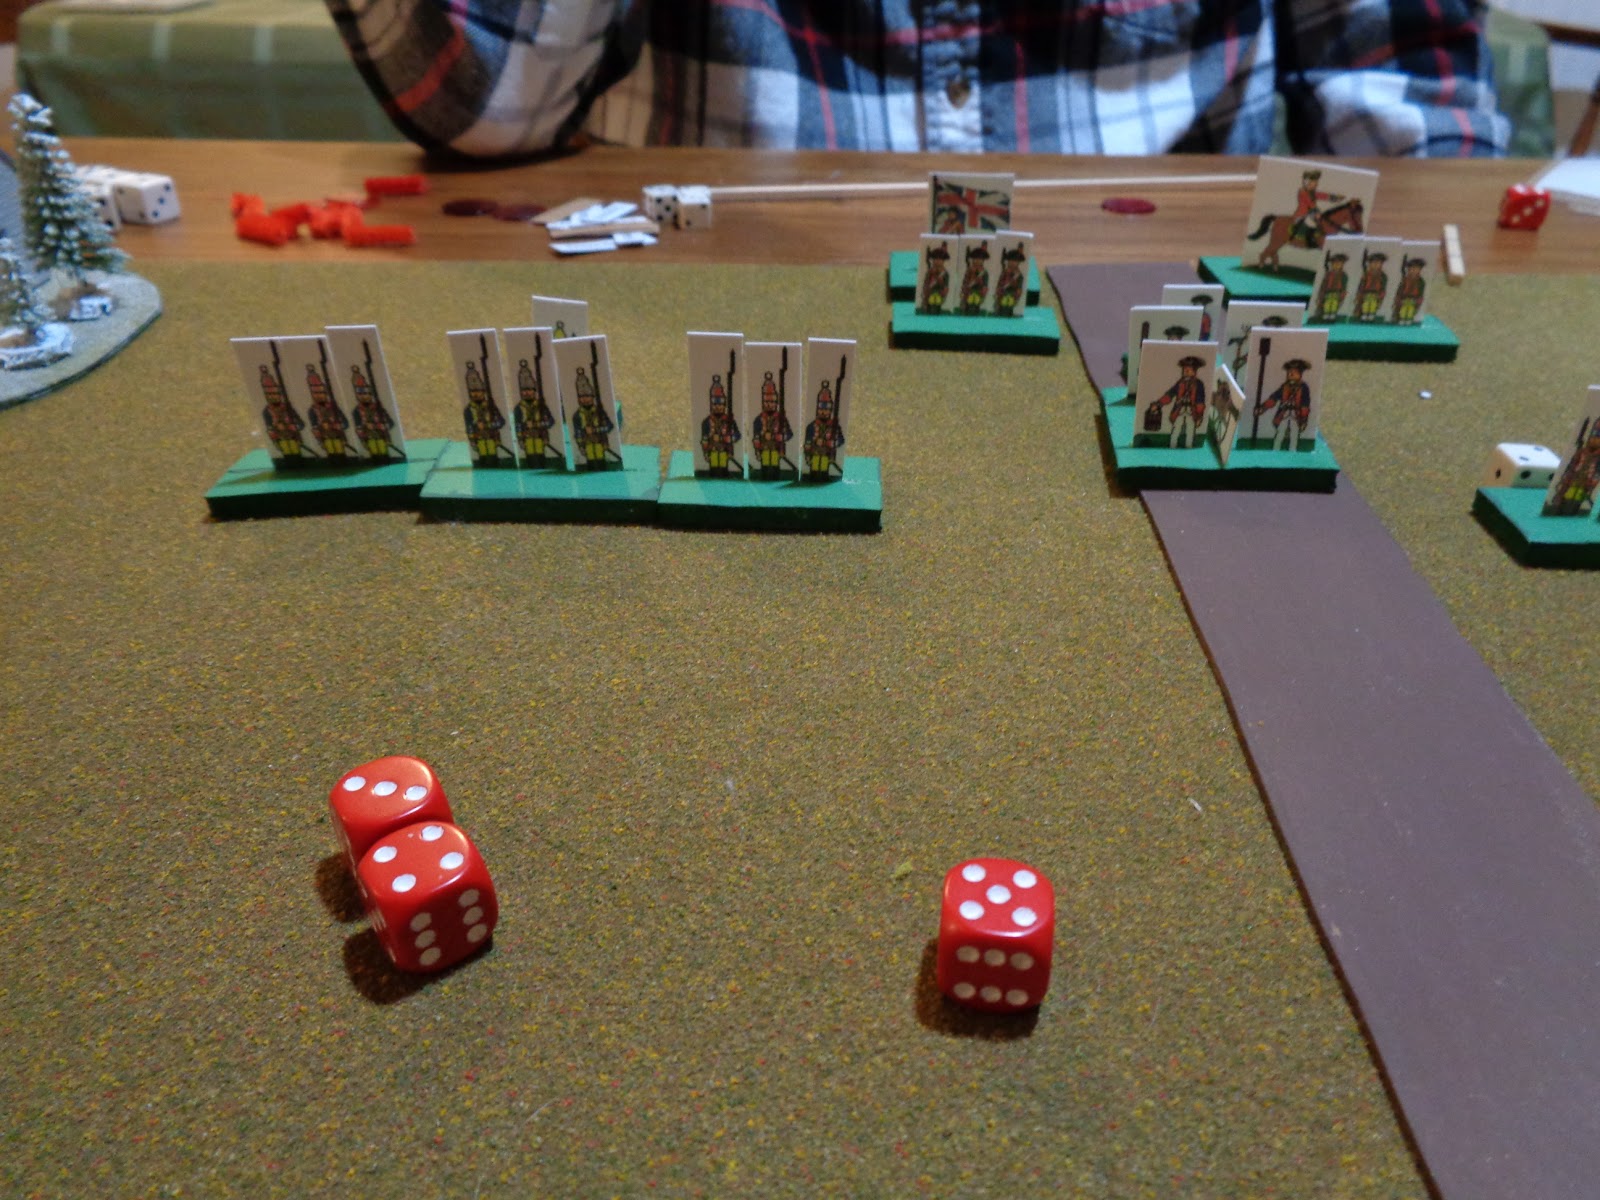
On a cold and snowy December General Washington has crossed the Schuylkill River and is approaching the town of Reading where the Hessians have encamped.   Will he be able to defeat Colonel von Rall and clear the town? 


                       Rev War/AWI with paper soldiers and using "Frank's rules for Black Powder"

                                                Hessian regulars in support of artillery
                                                         Hessians failing Morale checks
                      Hessians fail to dislodge militia in hand to hand combat on Colonial left flank
                     Colonial rifleman (bottom of photo) inflict heavy casualties in the center
                                                         A victory for the Colonial army.

A fun game on a cold night. A Christmas gaming tradition continues for another year.

Link to the original battle report on our Christmas tradition of a fictionalized Rev War/AWI battle in Reading.

Wednesday, December 5, 2018

Solo Granny Grate: Control the River

A quick solo test of the "homebrew rules" using a modified "Control the River" scenario from Neil Thomas'  One Hour Wargaming. The sides will dice for which goes first each turn, a modified solo card technique (similar to one found in Bob Cordery's The Portable Wargame) will be used for unit activation. Head toward your objectives (the 2 fords) as quickly as "practicable". Otherwise, "let the dice decide !" Joseph Morschauser in his HOW TO PLAY WAR GAMES IN MINIATURE  (1962).
**Remember to enlarge the photo by clicking on it if you wish to follow the battle mechanics better ! **


The board (painted foam board) is 9 X 9 squares (1 1/4" squares) which allows for a further division of the board into left, center and right zones for optional rules for solo play. Red is on North side of board. Blue the south side.

 Turn #1  Blue army activates 2 light cavalry and a light infantry. Red activates 2 light cavalry.

 #2 Red light cavalries occupy both fords. Blue light cavalry and infantry challenge with erratic                                                                                       fire.

 #3 Blue brings on the remainder of its forces. Red fire misses as only 2 units receive orders.

 #4 Blue's light cavalry at both fords takes casualties in close combat. Red lt. cavalry pushes Blue back from the East ford (left on photo). All Red's forces (regular infantry) arrives on battlefield.

#5 Red's light cavalry destroys Blue's light cavalry in close combat at East ford (right side of photo). Blue army tries to reform at the West ford (right side of photo).

 #6 Red's light cavalry forced away from East ford (left) and light infantry retreats into woods at West ford (right). Red's "Stoneford" light cavalry destroys Blues light cavalry at the West ford (left).

 #7 Amidst the chaos only 2 Red units receive orders, however Regular infantry occupy the West ford. Blue misses with musket fire at both fords.

 #8 With activation decks reshuffled and due to Blue's casualties it has its deck lowered, only 1 unit receives orders. While taking casualties, Red's regular infantry destroys Blue's forces at West ford (right)

 #9 Red's regular infantry crosses at East ford (right) threatening Blue's flank. Blue's musket fire is ineffective.

#10 Blues fire is ineffective and no one is eager to engage in close combat at West ford (right). Red has difficulty in getting orders to its units.

 Turn #11 ineffective fire from Red's troops. Blue inflicts casualties on the advancing Red regulars on Blue's left flank.

Turn #12 Both armies suffer ineffective fire at the West ford.

 Turn #13 Blue loses another unit to Red's "Stoneford" light cavalry. Blue's retreat begins.


                                            Red's army controls both fords and the River.

Order of Battle: both sides had 2 light cavalry, 2 regular infantry and 2 light infantry.

Bases were 1" square, 3mm from LITKO.

My feedback: need to rethink  handling retreat distances and also activation consequences, but a fun and interesting time with Granny Grate armies on a portable board with my simple "homebrew rules". An hour well spent !

Thursday, November 29, 2018

Hougoumont, Waterloo 1815


Using the 1998 "Risk" (kneeling infantry, shakos) plastic figures for this modified Napoleonic battle scenario from the Junior General website .

"I've been in this position before at the Battle of Marengo. I lost the battle at five o'clock, but I won it back again at seven!"

     Hougoumont, Waterloo, Netherlands (today, Belgium)

 The farm house. Allies in front. British flanking and in reserve

                       French legere (lights) to left and regulars on right advance in column.

 Early fire with equal casualties
 Heavy losses on British left flank
 British allies are forced back to farm house
 Hanoverian Jaeger rifle fire is devastating
 British retreat to farm house as Coldstream guard regulars arrive
 The fight for the farm house begins
 Hand to Hand in the Farm house and yard
 Vive La France

A back and forth battle that could have gone either way with the melee battle in the farm house and yard.

                                               
                                                    "Give me night or give me Blucher"